This website may contain affiliate links and advertising so that we can provide recipes to you. Read my disclosure policy.
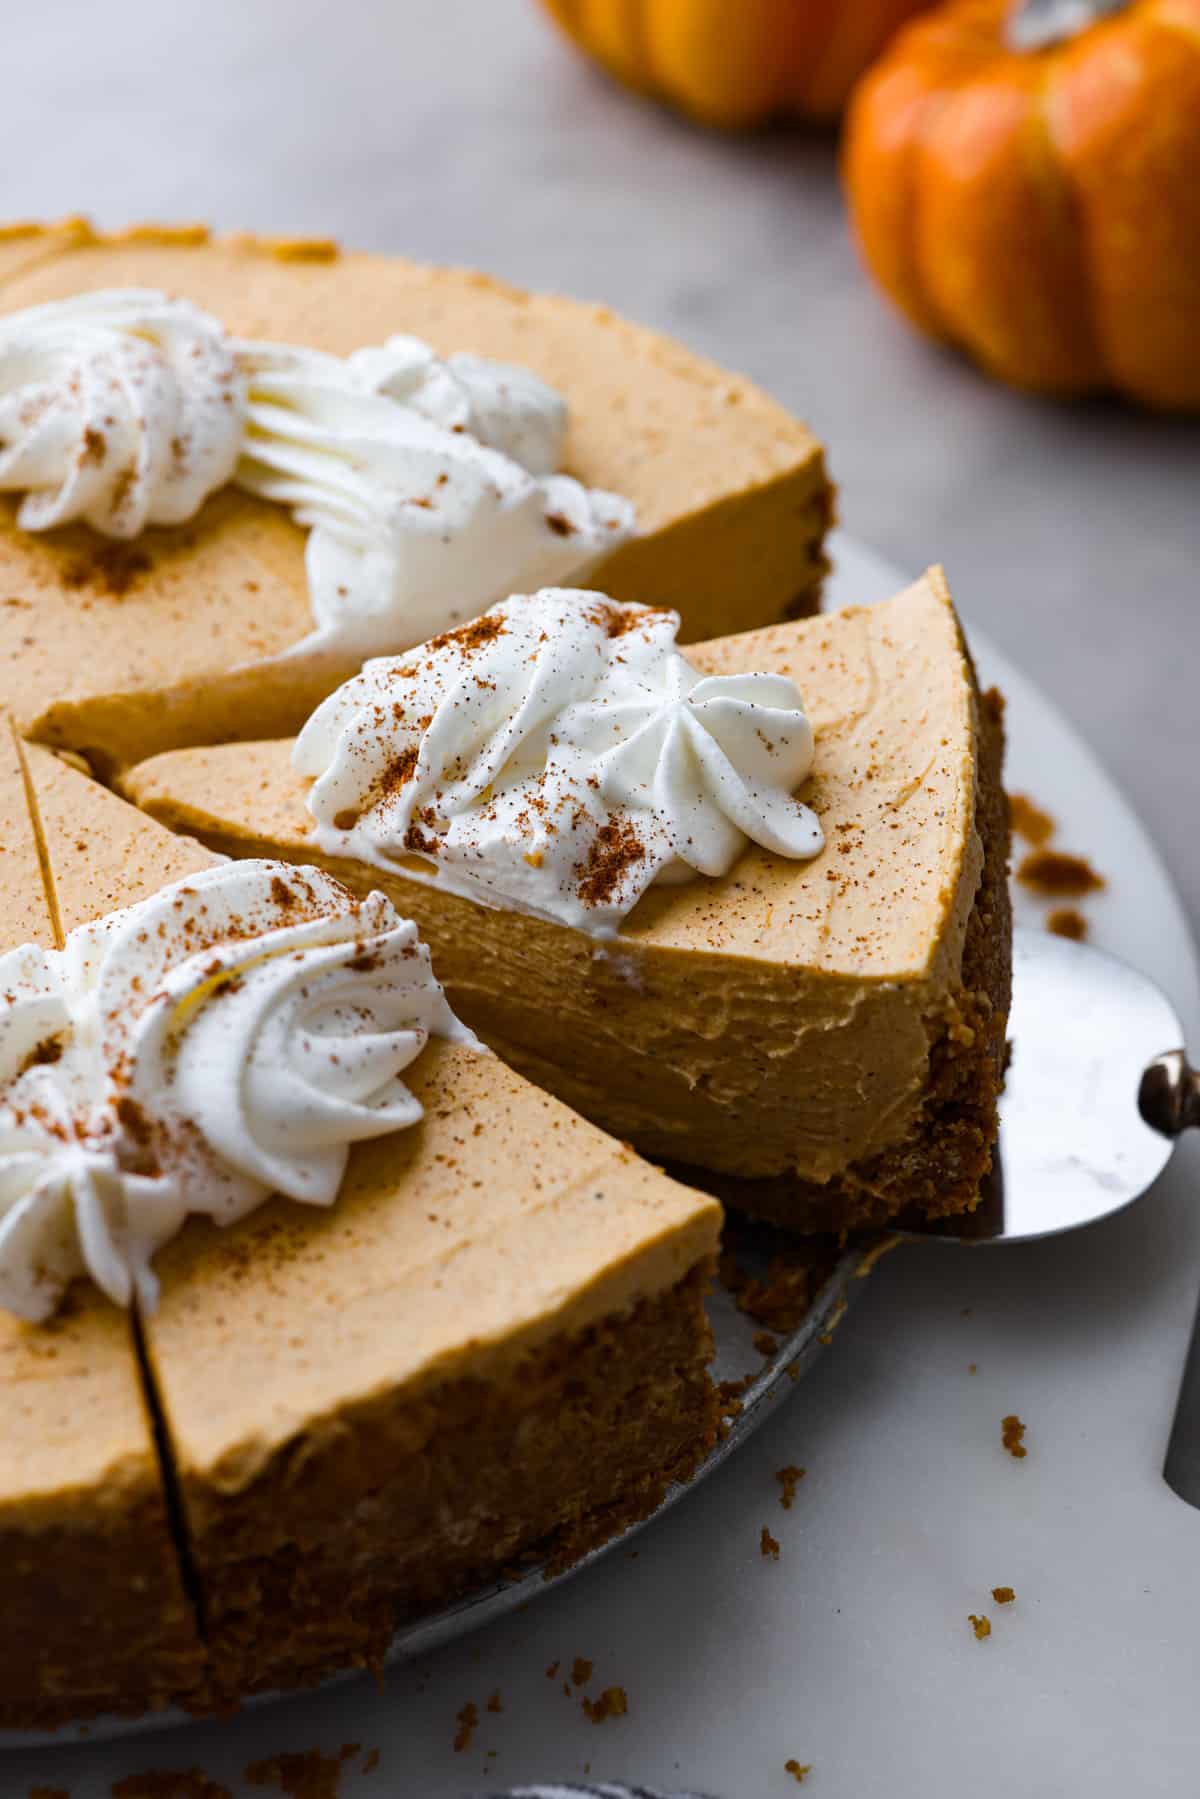
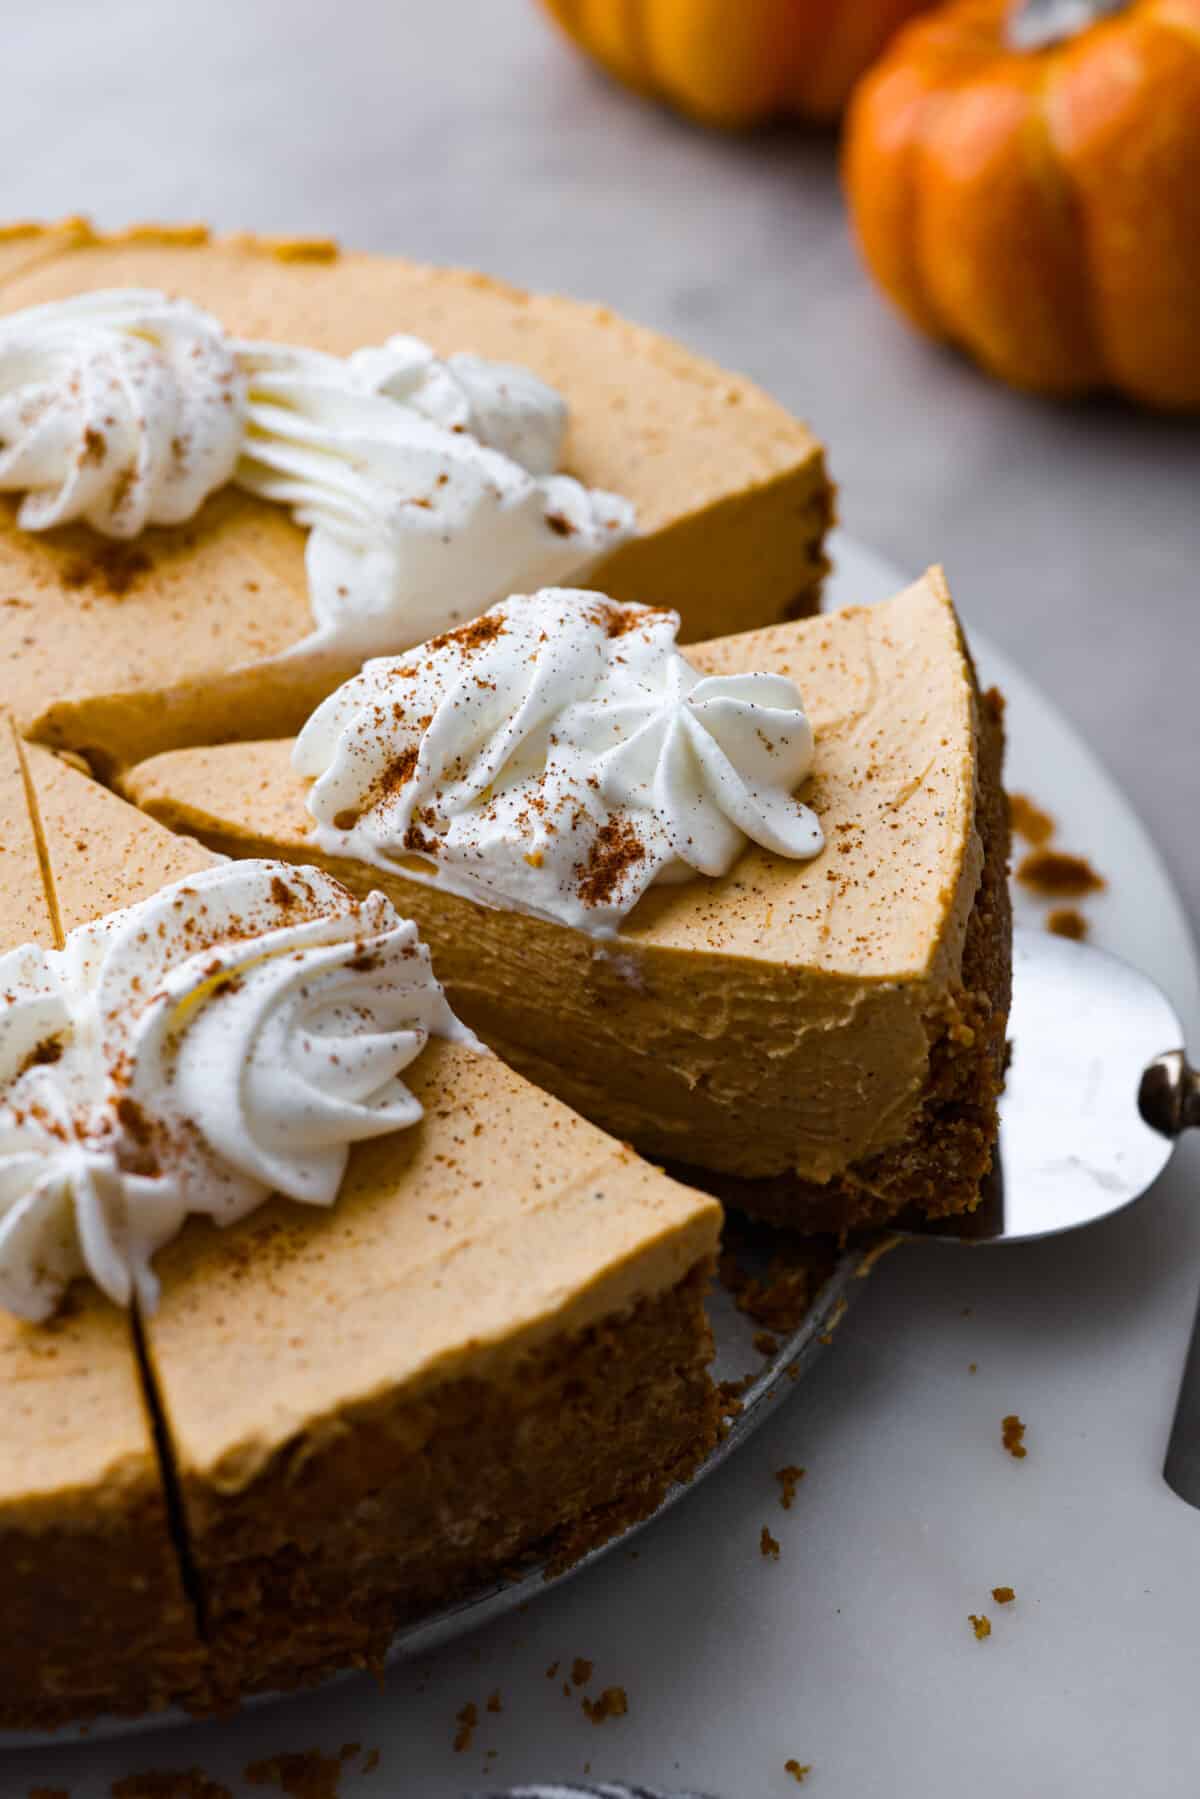
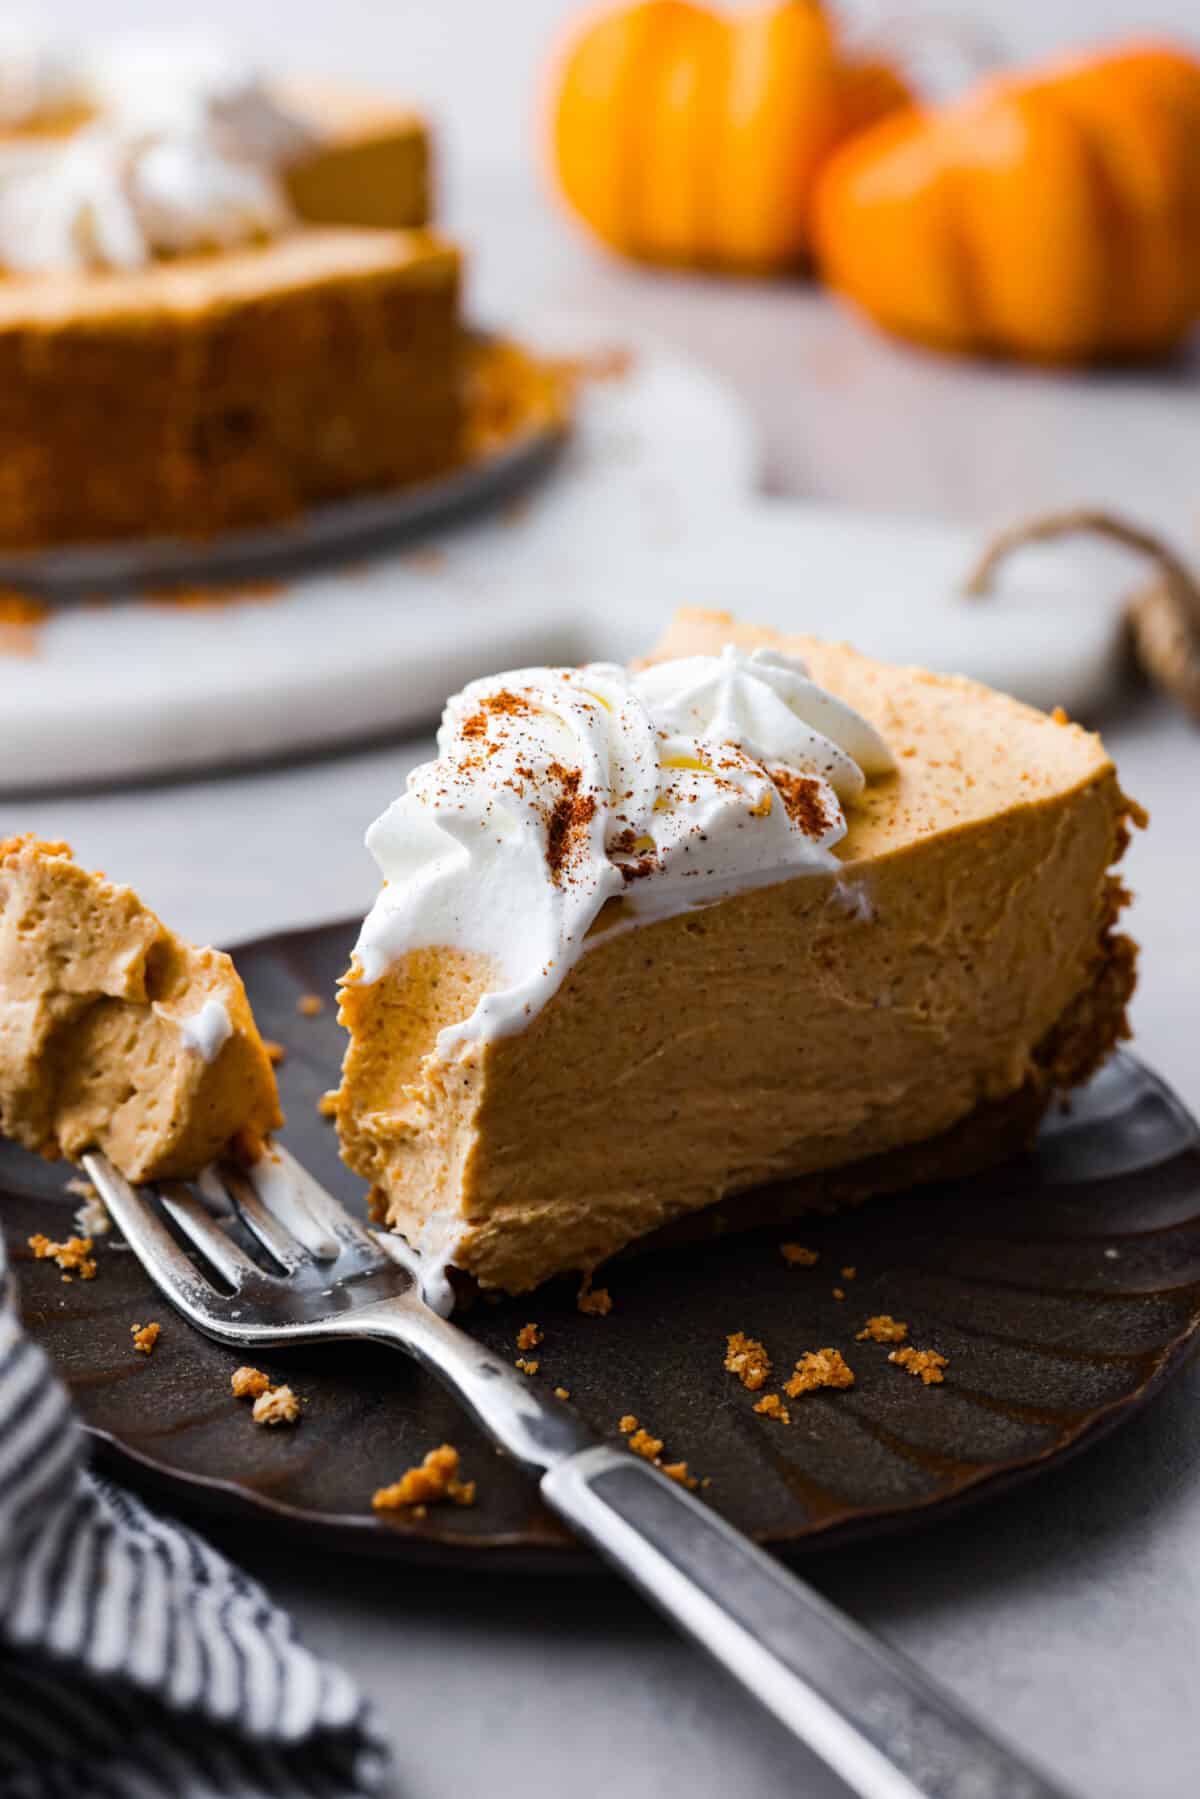
Delicious no-bake pumpkin cheesecake topped off with whipped cream is the perfect fall dessert. It has a creamy cheesecake filling with real pumpkin puree that sits in an irresistible Biscoff cookie crust. It’s easy to make, rich, and perfectly spiced!
Reasons You’ll Love This Recipe
- No Oven Required! This no-bake pumpkin cheesecake is a quick and easy, no-fuss recipe.
- Looks elegant and tastes amazing: Impress your friends and family this holiday season! Everyone loves the wonderful combination of creamy pumpkin cheesecake with a spiced Biscoff cookie crust!
- Great make-ahead dessert: This cheesecake needs 6 hours to set in the fridge, so it’s perfect for making the day before Thanksgiving or another fall celebration. Plus, it makes 12 servings to feed a crowd!
Ingredients You’ll Need to Make Pumpkin Cheesecake
This no-bake pumpkin cheesecake recipe is everything you could ever want in a fall dessert! If you’re a bit intimidated to make a traditional cheesecake, this no-bake recipe is perfect for beginners. For exact measurements, scroll to the recipe card below.
Crust
- Biscoff Cookie Crumbs: You’ll need 2 cups of cookie crumbs, which is equal to about one 8.8-ounce package of Biscoff cookies. Look for Lotus, which is a common brand of speculoos cookies available at most grocery stores.
- Brown Sugar: To sweeten the crust.
- Unsalted Butter: Melted butter is mixed with crushed Biscoff cookies to bind the crumbs together, similar to a graham cracker crust.
- Salt: Just one pinch will balance the sweetness.


Filling
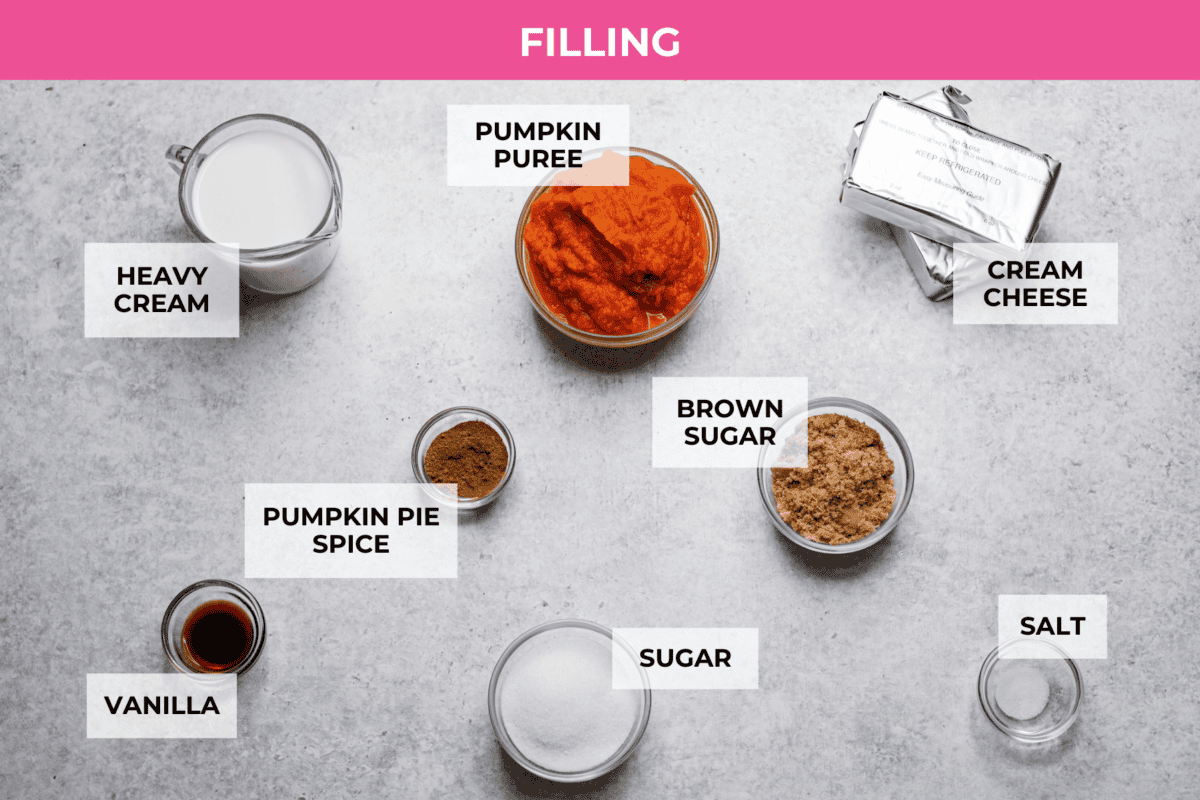
- Heavy Cream: Adds a light and airy texture to the filling.
- Cream Cheese: For a rich creaminess reminiscent of a classic cheesecake, it’s best to use the full-fat variety.
- Pumpkin puree: For best results, use Libby’s brand canned pumpkin.
- Sugar: This recipe uses both granulated sugar and brown sugar for a richer, sweeter flavor.
- Vanilla Extract: For extra warm flavor.
- Pumpkin Pie Spice: A must for the ultimate fall flavor, full of cinnamon, cloves, nutmeg, ginger, and other classic flavors. You can use store-bought or try my homemade pumpkin spice recipe.
- Salt: Intensifies and enhances the flavors.

No-Bake Pumpkin Cheesecake Instructions
If you love cheesecake and pumpkin, this is the dessert for you! It’s simple to make, but plan ahead because it does take some time to set up in the refrigerator. Make it the day before your holiday celebration, and it will be one less thing to worry about the day of!
Biscoff Cookie Crust
- Blend: Add the cookies to a blender or food processor and pulse until finely ground. Add the crumbs, brown sugar, and pinch of salt to a medium bowl. Add the melted butter and stir until all the crumbs are moistened and resemble very wet sand.
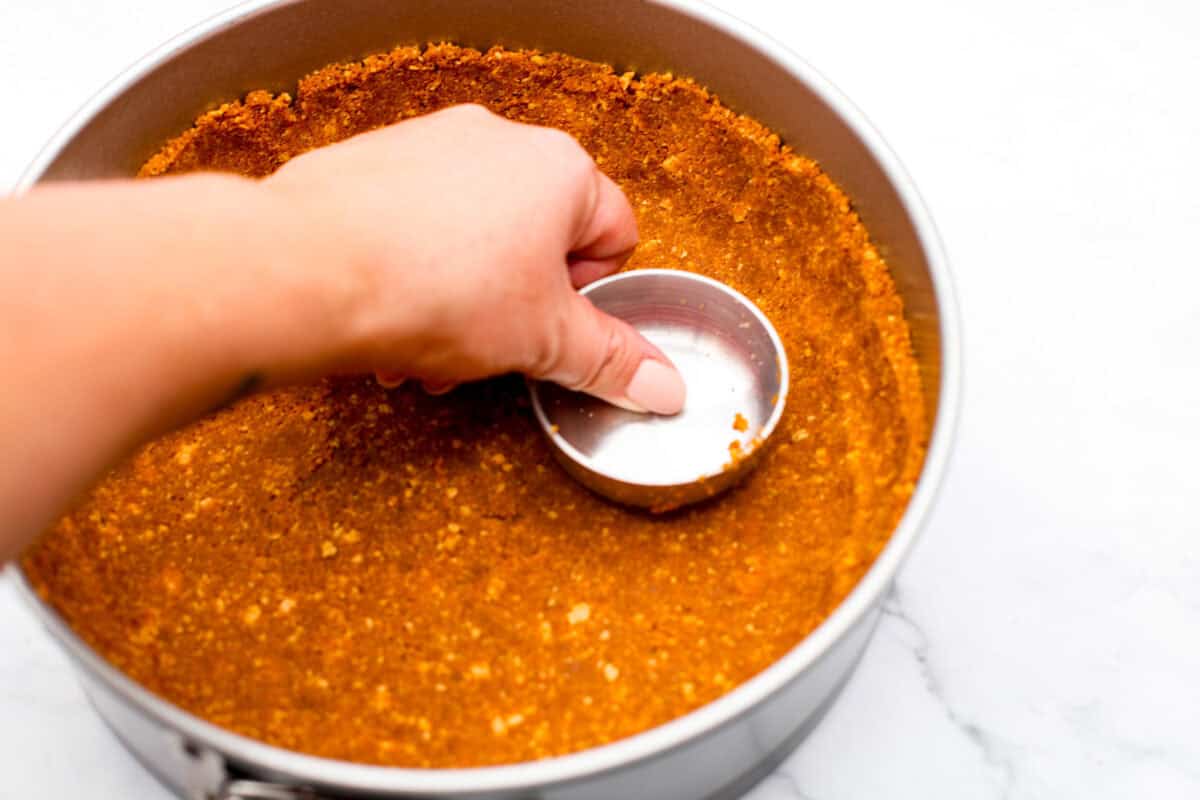
- Form Crust: Spray a 9-inch springform pan with pan spray, and then press the crumb crust into the bottom and up the sides. Place the crust in the refrigerator to chill while you prepare the filling. Whip Cream: In a large bowl, whip the cream until you reach stiff peaks. Cover the bowl and place it in the refrigerator to chill until you are ready to use it.



Pumpkin Cheesecake Filling
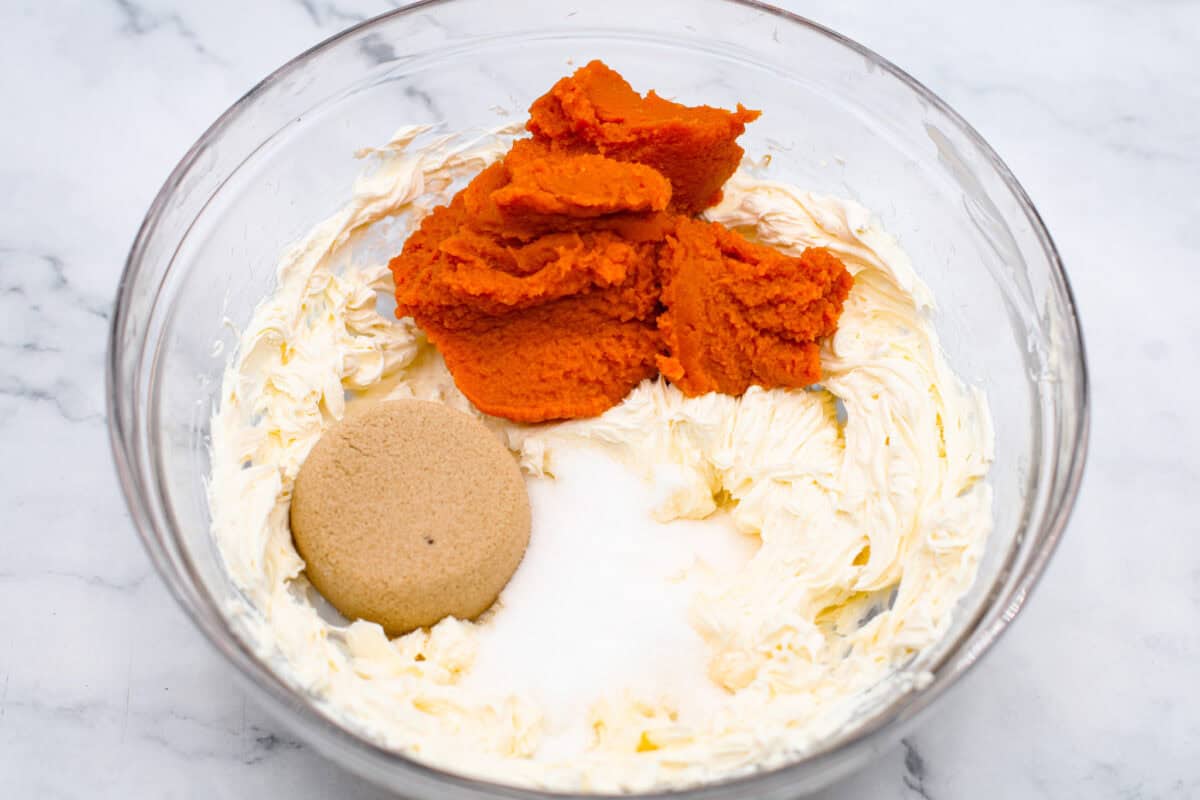
- Beat: In another large bowl, use a stand mixer fitted with the paddle attachment or hand mixer to beat the cream cheese until smooth. Scrape down the sides and bottom of the bowl once or twice as you beat it to be sure it is smooth. Add both sugars and the pumpkin and beat again until smooth.
- Mix: Add the vanilla, pumpkin pie spice, and salt. Mix until combined.
- Fold: Remove the whipped cream from the refrigerator and gently fold it into the cream cheese mixture until no streaks of white remain.
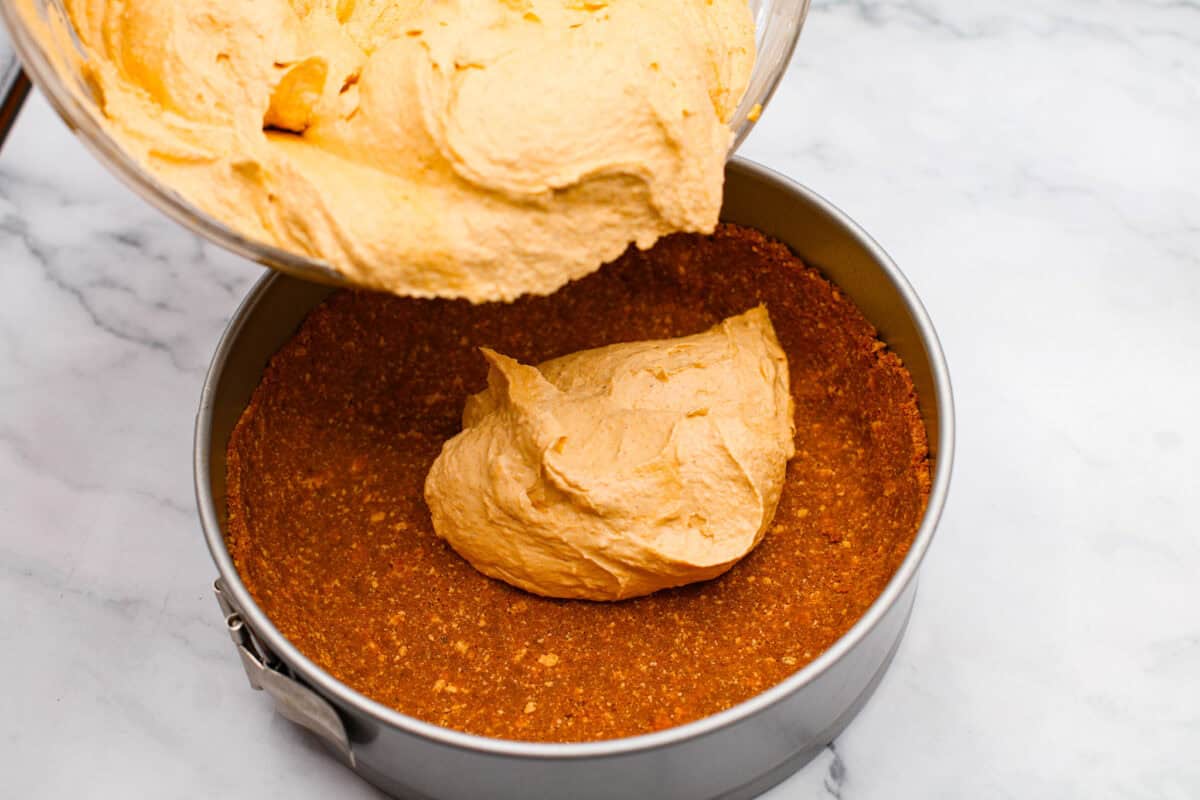
- Fill and Chill: Add the filling to the chilled crust and smooth the top. Cover and chill for 6-8 hours or overnight before serving.
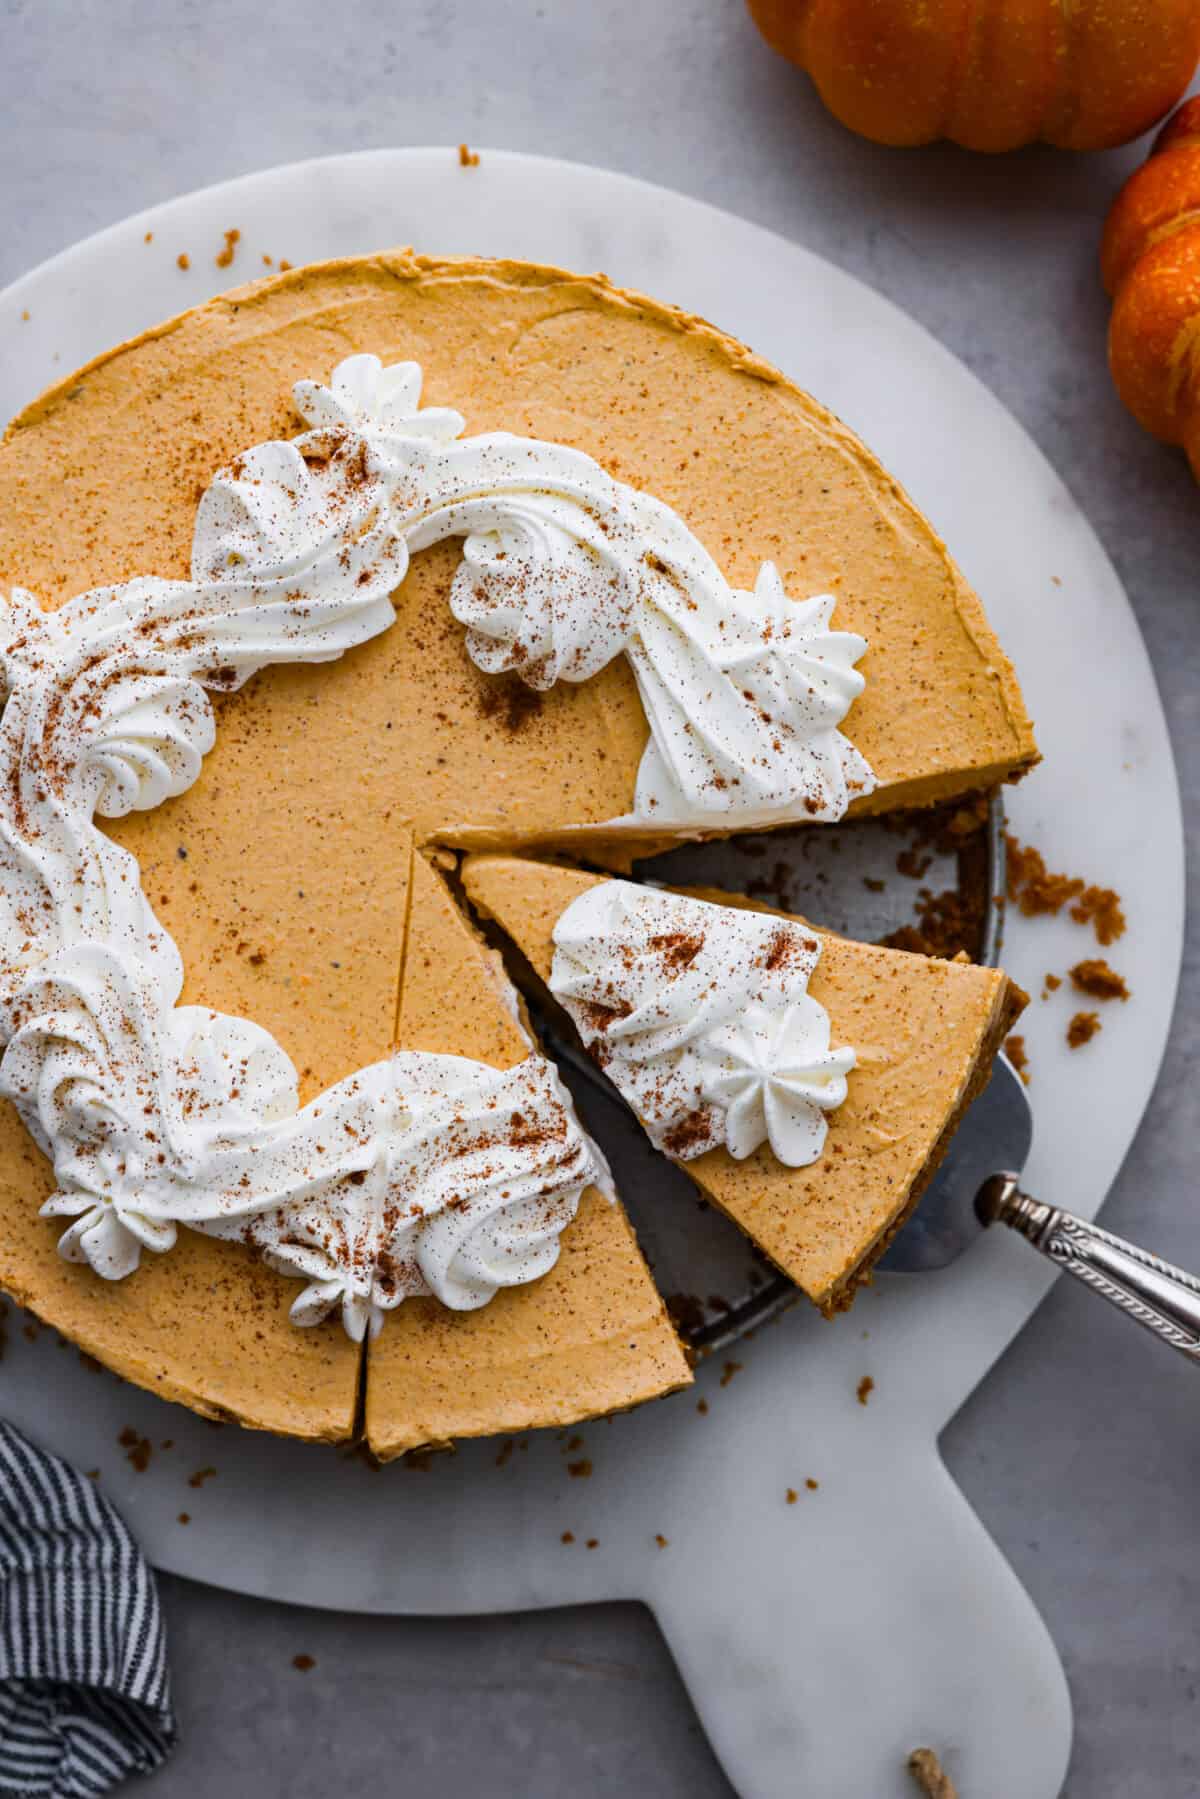
- Serve: Serve it straight from the refrigerator. For the best slices, run a large knife under very hot water, dry it with a clean kitchen towel, and slice. Rinse the knife clean and heat again between each cut for the cleanest results.



No-Bake Pumpkin CheesecakeTips and Variations
This no-bake pumpkin cheesecake is a favorite of mine because it tastes so good and is hassle-free! Here are some simple tips and ways to change it up!
- For the Crust: Use the flat bottom of a glass or measuring cup to press the crust into the pan. This helps it stay together well without sticking to your fingers and making a huge mess.
- Room Temperature Cream Cheese: The cream cheese will become silky smooth if you let it sit at room temperature for 1-2 hours before preparing the filling. It will still work if the cream cheese is chilled, but it may take a little bit longer to beat it before it is smooth.
- Scrape the Bowl: Make sure you scrape the sides and bottom of the bowl! If the cream cheese sticks to the bowl and isn’t scraped down, you will end up with unincorporated chunks of cream cheese throughout your cheesecake filling.
- Mini Cheesecakes: You can make mini no-bake pumpkin cheesecakes by dividing the crust into a muffin tin lined with muffin liners and pressing each one with the crust into the bottom. After the crusts have chilled, divide the filling evenly in the cups and chill for at least 4 hours.
- Graham Cracker Crust: You can use standard graham cracker crumbs instead of Biscoff cookie crumbs if desired.
- Cheesecake Texture: If your cheesecake is still soft after chilling, the cream cheese was likely too warm when mixed. Let it sit at room temp for no more than two hours, and skip the microwave to avoid over-softening.
- Use Whipped Topping: You can swap heavy cream for an 8-ounce container of thawed whipped topping. Just fold it into the cream cheese mixture in step 4. It’s easy to use and has stabilizers to help your cheesecake hold its shape.

Storing Leftover
One thing that makes this fall dessert so great is that you can make it ahead of time. Plus, leftovers keep fresh for a week, and you can freeze them!
- In the Refrigerator: No-bake pumpkin cheesecake needs to be stored in the refrigerator until serving to prevent it from getting soft. Cover leftovers and store in the refrigerator for up to 7 days.
- In the Freezer: No-bake pumpkin cheesecake can be frozen for up to 3 months. The thawed cheesecake will likely lack the same structure as a freshly made no-bake cheesecake. Whipped cream tends to break down after being thawed. You can freeze it by removing it from the springform pan and placing it on a parchment-lined baking sheet in the freezer for 4-6 hours. Once it is frozen, wrap it in 1-2 layers of plastic wrap, followed by a layer of foil.
- To thaw: Remove the foil and plastic wrap and place the cheesecake on a serving plate. Cover and place it in the refrigerator overnight to allow it to fully thaw before serving.

More Pumpkin Dessert Recipes
Nothing hits the spot quite like a fall dessert! I can’t get enough of this no-bake pumpkin cheesecake, but I have so many great pumpkin recipes to choose from! Here are a few more tried and true favorites that my family loves.
Pin this now to find it later
Crust
-
Add the cookies to a blender or food processor and pulse until finely ground. Add the crumbs, brown sugar, and salt to a medium bowl.
-
Add the melted butter and stir until all the crumbs are moistened and resemble very wet sand.
-
Spray a 9-inch springform pan with pan spray and then press the crumb crust into the bottom and up the sides.
-
Place the crust in the refrigerator to chill while you prepare the filling.
Filling
-
In a large bowl, whip the cream until you reach stiff peaks. Cover the bowl and place it in the refrigerator to chill until you are ready to use it.
-
In another large bowl, use a stand mixer fitted with the paddle attachment or hand mixer to beat the cream cheese until smooth. Scrape down the sides and bottom of the bowl once or twice as you beat it to be sure it is smooth. Add both sugars and the pumpkin and beat again until smooth.
-
Add the vanilla, pumpkin pie spice, and salt. Mix until combined.
-
Remove the whipped cream from the refrigerator and gently fold it into the cream cheese mixture until no streaks of white remain.
-
Add the filling to the chilled crust and smooth the top. Cover and chill for 6-8 hours or overnight before serving.
-
Serve straight from the refrigerator. For the best slices, run a large knife under very hot water, dry it with a clean kitchen towel, and slice. Rinse the knife clean and heat again between each cut for the cleanest results.
Calories: 359kcalCarbohydrates: 23gProtein: 4gFat: 29gSaturated Fat: 17gPolyunsaturated Fat: 1gMonounsaturated Fat: 7gTrans Fat: 0.2gCholesterol: 83mgSodium: 219mgPotassium: 154mgFiber: 1gSugar: 20gVitamin A: 5047IUVitamin C: 1mgCalcium: 79mgIron: 1mg
Nutrition information is automatically calculated, so should only be used as an approximation.

